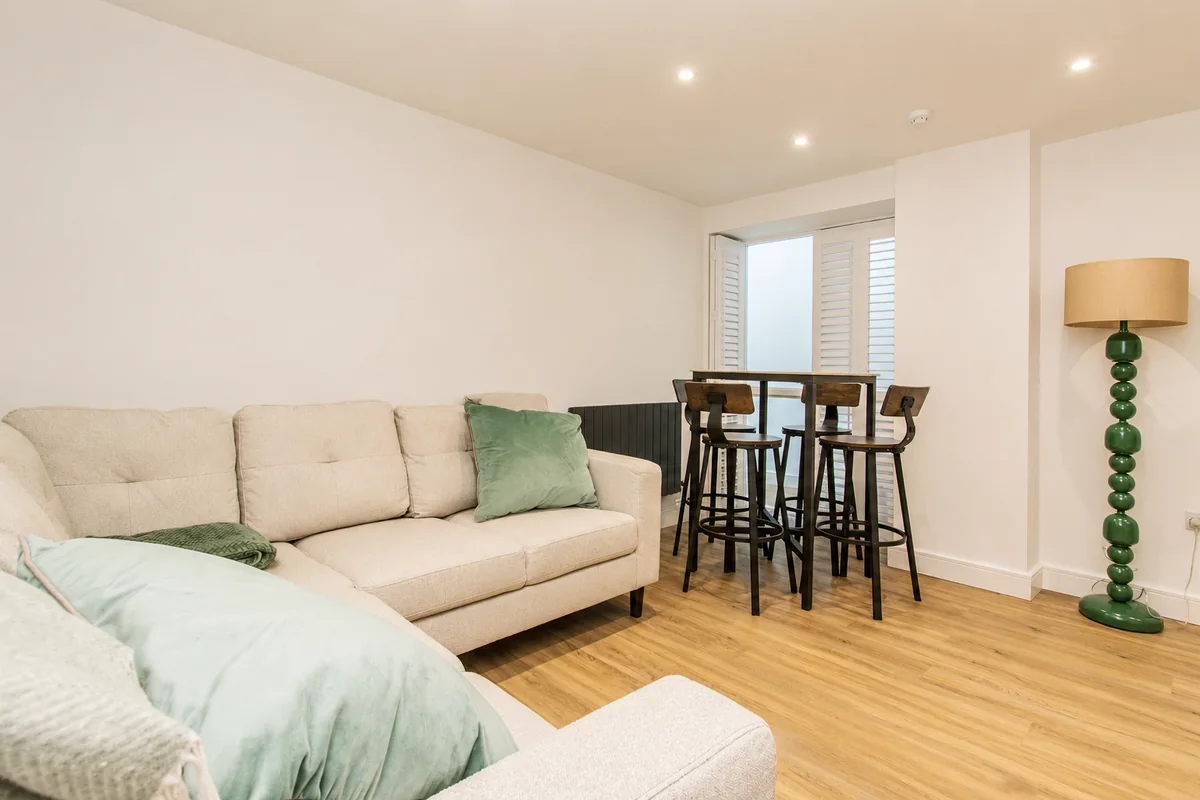
When a tenant moves out, every empty day costs money. A well-managed void property turnaround helps Nottingham landlords reduce lost rent, identify problems early and make sure the property is clean, safe and ready for the next tenancy.
The key is to work through the property systematically rather than arranging repairs, cleaning and compliance checks separately. Use this checklist from the moment the previous tenant returns the keys through to the new tenant moving in.
1. Complete the Check-Out Inspection
Start with a full inspection as soon as the previous tenancy ends. Compare the condition of the property with the original inventory and check-in photographs.
* [ ] Collect all sets of keys, including window, garage, gate and communal entrance keys.
* [ ] Walk through every room and photograph its condition.
* [ ] Photograph any damage before repairs or cleaning begin.
* [ ] Compare the property against the original inventory.
* [ ] Record electricity, gas and water meter readings.
* [ ] Check whether furniture or belongings have been left behind.
* [ ] Check cupboards, lofts, sheds, garages and outside storage areas.
* [ ] Record missing fixtures, fittings or supplied items.
* [ ] Check for unauthorised alterations or decorating.
* [ ] Note any repairs that may need to be considered when dealing with the previous tenant's deposit.
Normal wear and tear should be distinguished from actual tenant damage. A detailed photographic record makes this much easier to establish if there is later a dispute.
2. Secure the Property
An empty rental property should be secured immediately, particularly if contractors will be entering and leaving during the turnaround.
* [ ] Check that every external door locks correctly.
* [ ] Check window locks and handles.
* [ ] Recover or deactivate previous access codes.
* [ ] Replace locks where keys have been lost or security is uncertain.
* [ ] Check garages, gates and outbuildings.
* [ ] Remove post and anything suggesting that the property is vacant.
* [ ] Make sure contractors know how keys will be controlled.
* [ ] Check that the landlord's insurance provides appropriate cover while the property is unoccupied.
3. Create One Repair List
Rather than calling different trades as individual problems are discovered, complete the inspection first and create a single schedule of works.
* [ ] Separate urgent safety work from cosmetic improvements.
* [ ] Photograph each repair required.
* [ ] Group jobs by trade.
* [ ] Identify materials that need ordering.
* [ ] Decide which jobs must be completed before decorating.
* [ ] Decide which jobs must be completed before professional cleaning.
* [ ] Set a target date for the property to be ready for marketing or occupation.
A coordinated repair schedule can prevent common problems such as a cleaner arriving before decorating has finished or freshly painted walls being damaged because plumbing work is still taking place.
4. Check Plumbing and Bathrooms
Small plumbing problems can quickly become expensive problems if they remain unnoticed in an empty property.
* [ ] Run every tap.
* [ ] Check beneath sinks for leaks.
* [ ] Flush every toilet.
* [ ] Check toilet seats and flush mechanisms.
* [ ] Check baths and shower trays for damaged sealant.
* [ ] Check shower pressure and temperature.
* [ ] Inspect grouting around baths and showers.
* [ ] Check extractor fans.
* [ ] Check radiators and valves.
* [ ] Check the boiler for visible faults or error codes.
* [ ] Check for signs of previous water leaks.
* [ ] Look for mould or condensation around windows and external walls.
Replace deteriorated silicone and sealant before the next tenant moves in. It is a relatively small maintenance job that can help prevent water penetration and more expensive repairs later.
5. Check the Kitchen
Kitchens receive heavy use and are one of the first areas prospective tenants tend to inspect.
* [ ] Check cupboard doors, handles and hinges.
* [ ] Check worktops for damage.
* [ ] Check sink taps and drainage.
* [ ] Inspect sealant around the sink.
* [ ] Check supplied oven and hob.
* [ ] Check extractor hood.
* [ ] Check fridge and freezer if supplied.
* [ ] Check washing machine or dishwasher connections.
* [ ] Replace damaged shelves or cupboard fittings.
* [ ] Check sockets and switches for visible damage.
* [ ] Remove grease and dirt from difficult-to-reach areas.
6. Inspect Walls, Ceilings and Decoration
Not every property needs completely redecorating between tenants.
Concentrate expenditure where it will improve presentation or protect the property.
* [ ] Fill holes and minor wall damage.
* [ ] Touch up heavily marked walls.
* [ ] Repair peeling or damaged paint.
* [ ] Investigate water stains before painting over them.
* [ ] Check ceilings for cracking or signs of leaks.
* [ ] Inspect skirting boards and door frames.
* [ ] Check internal doors and handles.
* [ ] Replace badly damaged blinds or curtains supplied with the property.
* [ ] Consider full-room redecoration where touch-ups would leave an inconsistent finish.
Neutral, durable finishes are generally easier to maintain across repeated tenancies.
7. Check Flooring
Flooring problems are much easier to resolve while the property is empty.
* [ ] Check carpets for stains, burns and excessive wear.
* [ ] Check laminate or vinyl for lifting or damage.
* [ ] Look for loose floorboards.
* [ ] Check transitions between different flooring surfaces.
* [ ] Inspect stair carpets and fixings carefully.
* [ ] Arrange carpet cleaning where replacement is unnecessary.
* [ ] Replace flooring where repair would be uneconomical.
8. Look for Damp, Mould and Ventilation Problems
Do not simply paint over mould between tenancies.
The underlying cause should be investigated.
* [ ] Inspect window reveals.
* [ ] Check external walls.
* [ ] Check behind furniture positions.
* [ ] Check bathrooms and kitchens.
* [ ] Test extractor fans.
* [ ] Check air vents are clear.
* [ ] Look for leaking gutters or external pipework.
* [ ] Check for plumbing leaks.
* [ ] Investigate penetrating or rising damp where suspected.
* [ ] Treat the cause before redecorating affected areas.
9. Check Doors, Windows and General Joinery
Minor joinery problems can make an otherwise good property feel poorly maintained.
* [ ] Check every internal door opens and closes correctly.
* [ ] Check door handles.
* [ ] Check locks and latches.
* [ ] Inspect window handles.
* [ ] Check window restrictors where fitted.
* [ ] Check kitchen cupboard hinges.
* [ ] Check wardrobes and storage units supplied with the property.
* [ ] Repair loose handrails.
* [ ] Check staircases and balustrades.
10. Complete Electrical and Gas Safety Checks
Before re-letting, landlords should ensure that installations and supplied equipment are safe.
Private rented electrical installations must generally be inspected and tested by a qualified person at least every five years, with the appropriate report provided to a new tenant before occupation.
* [ ] Check the current Electrical Installation Condition Report (EICR).
* [ ] Arrange any required remedial electrical work.
* [ ] Check sockets and switches for visible damage.
* [ ] Check supplied electrical appliances.
* [ ] Replace failed lamps where appropriate.
* [ ] Check the consumer unit for obvious damage.
* [ ] Confirm the gas safety record is current.
* [ ] Arrange a Gas Safe engineer where a gas inspection or repair is required.
* [ ] Confirm boilers, appliances and flues are safe before the new tenancy begins.
The HSE specifically advises landlords to ensure supplied gas appliances and flues are safe and have an up-to-date gas safety record before re-letting a property.
11. Check Smoke and Carbon Monoxide Alarms
Do not leave alarm testing until the new tenant arrives.
Current rules require smoke alarms on each storey containing living accommodation and carbon monoxide alarms in rooms containing a fixed combustion appliance, except gas cookers. Faulty alarms must also be repaired or replaced.
* [ ] Test every smoke alarm.
* [ ] Test every carbon monoxide alarm.
* [ ] Replace faulty units.
* [ ] Replace batteries where necessary.
* [ ] Check alarms have not been removed or covered.
* [ ] Record that the alarms have been tested before occupation.
12. Check Nottingham Property Licensing
Property licensing is particularly important for Nottingham landlords.
Nottingham City Council operates Mandatory, Additional and Selective licensing schemes. The licence required depends on factors including the property's location, number of occupants and number of households. Additional Licensing currently covers qualifying smaller HMOs citywide, while Selective Licensing applies to many other privately rented properties within designated areas.
* [ ] Confirm whether the property requires a licence.
* [ ] Check the existing licence remains valid.
* [ ] Check occupancy limits and licence conditions.
* [ ] Confirm the proposed tenancy matches the permitted occupancy.
* [ ] Make sure required safety documents remain current.
* [ ] Check whether any changes to the property or management arrangements need to be reported.
* [ ] Review additional requirements if the property is an HMO.
Never assume that because a property did not previously require a particular licence the position is still the same.
13. Inspect the Exterior
The turnaround should include the outside of the property, not simply the rooms tenants see during a viewing.
* [ ] Check gutters and downpipes.
* [ ] Look for slipped or damaged roof tiles visible from ground level.
* [ ] Check external drains.
* [ ] Inspect fences and gates.
* [ ] Remove accumulated rubbish.
* [ ] Cut grass.
* [ ] Trim excessive vegetation.
* [ ] Remove weeds.
* [ ] Check external lighting.
* [ ] Check pathways and steps.
* [ ] Check sheds and garages.
* [ ] Check bins are present and usable.
Good exterior presentation also creates a much stronger first impression when new marketing photographs are taken.
14. Deep Clean the Property
Professional cleaning should normally take place after repairs and decorating have been completed.
* [ ] Deep clean kitchen cupboards and worktops.
* [ ] Degrease oven, hob and extractor.
* [ ] Clean refrigerator and freezer if supplied.
* [ ] Descale taps and shower fittings.
* [ ] Clean bathrooms and toilets.
* [ ] Remove mould residue after underlying issues have been resolved.
* [ ] Clean internal windows and frames.
* [ ] Wipe doors, handles and switches.
* [ ] Clean skirting boards.
* [ ] Vacuum and mop flooring.
* [ ] Professionally clean carpets where required.
* [ ] Remove cobwebs.
* [ ] Clean inside wardrobes and storage cupboards.
* [ ] Remove all rubbish.
* [ ] Make sure the property smells clean and fresh rather than heavily fragranced.
15. Carry Out the Final Landlord Inspection
Once contractors and cleaners have finished, carry out another inspection rather than assuming everything has been completed.
* [ ] Walk through every room.
* [ ] Check repair work.
* [ ] Check decorating.
* [ ] Check cleaning.
* [ ] Turn on taps.
* [ ] Flush toilets.
* [ ] Check heating and hot water.
* [ ] Test lighting.
* [ ] Test alarms.
* [ ] Check windows and doors.
* [ ] Check outside areas.
* [ ] Remove contractor materials and rubbish.
* [ ] Photograph the finished property.
This final inspection gives you a clean starting point for the next tenancy and provides photographs that can support the new inventory.
16. Prepare the Property for Marketing
Once the property is genuinely ready, update the marketing rather than automatically reusing photographs from several years ago.
* [ ] Take new photographs in daylight.
* [ ] Remove tools, cleaning products and maintenance materials.
* [ ] Open curtains and blinds.
* [ ] Check every light works before photographs are taken.
* [ ] Make rooms appear clean and uncluttered.
* [ ] Review the rental description.
* [ ] Confirm the rent being advertised.
* [ ] Check availability and proposed move-in date.
* [ ] Make sure the property's advertised features are still accurate.
A freshly prepared property with current photographs is generally more attractive than a listing using images that no longer accurately represent its condition.
17. Prepare for the New Tenant
Before handing over the keys, complete the administrative and property handover preparation.
* [ ] Prepare a new inventory and schedule of condition.
* [ ] Take dated photographs.
* [ ] Record meter readings.
* [ ] Prepare all required safety documentation.
* [ ] Prepare operating instructions for heating and appliances where useful.
* [ ] Confirm keys and access arrangements.
* [ ] Check deposit arrangements.
* [ ] Complete the required tenant and right-to-rent checks.
* [ ] Make sure emergency and maintenance contact details are available.
* [ ] Complete a final alarm test at the start of the tenancy.
* [ ] Record the condition of the property at handover.
How to Reduce Void Periods
The biggest improvement most landlords can make is to start planning before the previous tenant actually leaves.
* [ ] Schedule the check-out inspection in advance.
* [ ] Have trusted contractors available.
* [ ] Order known replacement materials before the tenancy ends where appropriate.
* [ ] Carry out one comprehensive inspection rather than discovering jobs gradually.
* [ ] Group repairs together.
* [ ] Complete repairs before cleaning.
* [ ] Arrange compliance checks early.
* [ ] Photograph the property immediately after the final clean.
* [ ] Begin marketing as soon as the property is ready.
The objective is not simply to complete jobs quickly. It is to complete them in the correct order so work does not need to be repeated.
Nottingham Void Property Turnaround Checklist at a Glance
For a straightforward turnaround, the sequence should normally be:
* [ ] Tenant check-out and condition report.
* [ ] Secure the property.
* [ ] Photograph damage and identify repairs.
* [ ] Complete safety-critical work.
* [ ] Complete plumbing, electrical and general repairs.
* [ ] Address damp, leaks or ventilation problems.
* [ ] Decorate where required.
* [ ] Complete external maintenance.
* [ ] Deep clean the property.
* [ ] Check safety certificates and Nottingham licensing requirements.
* [ ] Carry out the final inspection.
* [ ] Create the new inventory and photographs.
* [ ] Prepare the property for the next tenant.
Need Help Turning Around a Void Property in Nottingham?
Managing several trades, repairs and cleaning jobs between tenancies can quickly become time-consuming, particularly when every additional day represents lost rental income.
Relet helps Nottingham landlords coordinate property repairs and maintenance so problems can be identified and resolved before the next tenant moves in.
Whether you have a single repair, several maintenance jobs or a complete void property turnaround, getting everything organised through one process can make preparing your next tenancy considerably easier.
* [ ] Inspect the property.
* [ ] Identify the work required.
* [ ] Get a repair or maintenance quote.
* [ ] Complete the work.
* [ ] Get the property ready to rent again.
Need help with a Nottingham rental property?
Tell us what needs attention and we’ll help define the practical next step.
Request a property quote